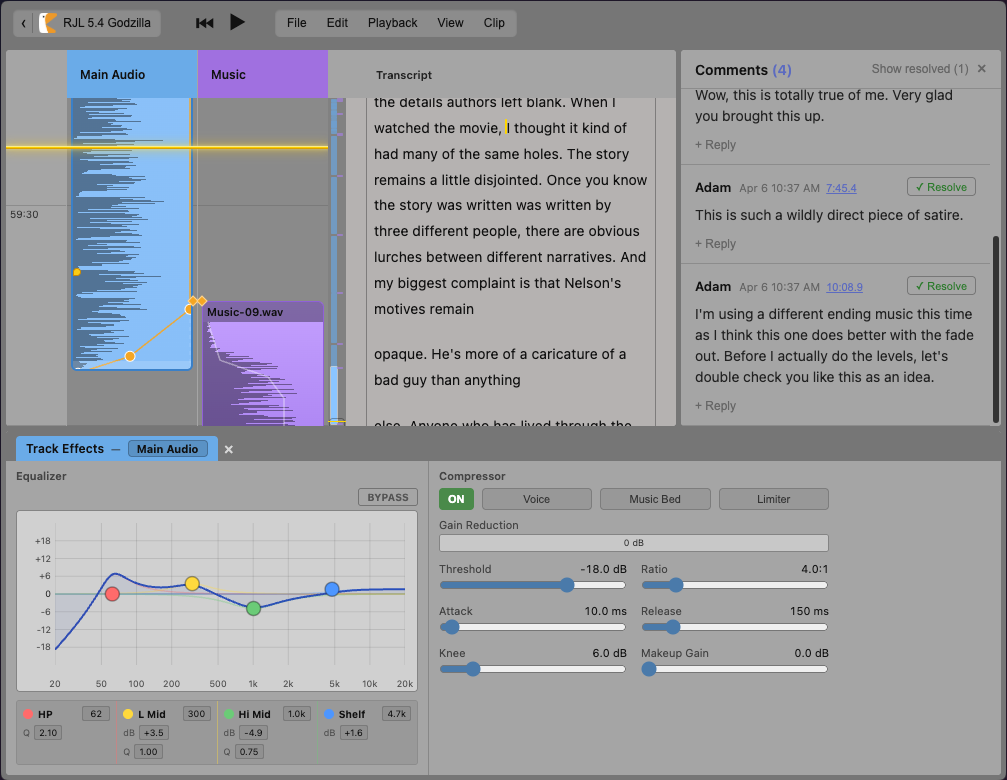
For the past few years, my partner has recorded and edited a niche podcast while I’ve helped a bit with selecting music and EQ settings. Our workflow was painful: one shared iCloud file, emails of notes coded to timestamps, carefully checking that our changes didn’t conflict.
Editing audio was like traveling back in time twenty years: no track changes, no comments, and no multiplayer editing.
The friction wasn’t just in the file-oriented workflow. The normal interaction model of Digital Audio Workstations (or DAWs) is not particularly well-suited for the task of editing spoken word audio.
So I decided to build the podcast editor we wanted: Ducking. It has a UI purpose-built for laying out spoken word audio, plus multiplayer editing, collaboration tools, and history management. In this post, I’ll talk about the improvements it makes to editing tools. Future posts will discuss the engineering challenges of multiplayer audio editing and the pleasure of building software for just a few users with design sketching techniques and LLM assistance.
How does Ducking make editing podcasts easier? It focuses on providing better tools for the two most-common recurring tasks:
- Audio layout: specifying how bits of audio should stick together as things around them change.
- Navigation: finding the right bit of audio. This happens at a lot of levels of precision, from “roughly where does act 2 start?” down to “exactly which millisecond is the beginning of that background noise?”
Ducking itself was built specifically for our podcast workflow, serves its purpose doing that, and won’t be public anytime soon. But I hope that some of these ideas will spread into other tools and be more broadly useful.
Throughout this post, I’ll show simplified animations of the features in action to avoid distracting with other parts of the editing UI.
Audio layout
Like laying out a newspaper or a webpage, one of the main challenges with audio editing is to start by roughly trying out how different parts fit together, then to carefully specify more precisely, without messing up the existing choices.
Ducking provides an audio layout concept model that is much faster to work with, by borrowing ideas from other DAWs, text editors, and even further afield.
From absolute to magnetic time
In a traditional DAW, every clip has an absolute start time. When one clip is moved or edited for length, everything after drifts out of alignment.
Absolute layout is the right model for writing songs, where material in one measure should stay there. But it’s the wrong model for editing spoken word material, where the default is to reflow later material as earlier bits change.
The right layout model is a magnetic timeline, where clips are ordered, not positioned. Each clip’s place in time is computed from the lengths of the items before it. So when one clip is added, removed, or edited, everything after just re-flows automatically.
Gap clips allow adding explicitly-timed silence when that is needed.
This is the model used by many video editing tools as well as audio tools that focus on spoken word, like Hindenburg. So the idea itself isn’t new. But it provides the first step and suggests that further playing with the idea of an automated layout model might be useful.
From splits to skip regions
The vast majority of podcast editing is repeatedly removing tiny bits of unwanted material like filler words, long pauses, or a flubbed sentence. In most audio editors, that means splitting each recording clip into lots of tiny parts and adjusting their alignment. After doing that dozens of times, the timeline view becomes a huge set of disconnected clips that are hard to scan or reorganize.
Ducking uses “skip regions” as a better solution. The editor can leave a clip as a single unit while editing away part of it as not to be used. This keeps a single mostly-intact recording as a unit, so it’s easier to understand and rearrange, while still indicating where material has been removed.
The skip region acts like code folding in a text editor. It leaves a visible indication and can be unfolded to interact with the skipped audio or change the region’s start and end.
Pin-based alignment
So far the editor has only been working with a single track of audio. The problem gets harder as we add more parallel tracks.
Perhaps the trickiest case is transition music. The editor will usually want it to play gently underneath the end of one section, swell to be the main focus, and then duck back beneath the beginning of the next section.
Most audio tools allow laying out the second track either in absolute time or by connecting the start of a clip in one track to a specific place in another, which allows the second track to float along with the rest of the magnetic timeline.
With the connector model, the editor can construct any particular transition, but they have to struggle a bit to translate between the creative vision they have and the set of tools that enables them to reach it.
Analyzing the creative decisions that they are trying to make, editors really care about:
- How the fade-in portion of the music corresponds to the outgoing speaking part: making sure it becomes noticaeble right as the section is reaching a dramatic or summarizing closing beat.
- How the swell of the music lets the last section gently fade out and how the music corresponds to the emotional or intellectual changes between the two sections.
- How the fade-out portion of the music ducks back down to fit beneath the next section’s spoken content, lingers for a bit, and then fades out smoothly.
So I built a set of layout tools that exactly correspond to that set of creative decisions. Using the pin-based layout system, the editor gets to pick which part of the music should play at the same time as which part of the preceding and following spoken word clips. Then they can independently control the volume or other effects on each track so that they layer properly.
Combining all of these elements — magnetic timeline, skip regions, and constraints between tracks — removes the layout busywork from audio editing and lets the editor focus directly on the emotional experience they’re trying to achieve.
Navigating audio
Before any edit action can happen, first the editor has to understand and choose what to edit. Navigating audio happens in a few ways:
- Actually listening to the audio, possibly scrubbing or jumping around the timeline. The playhead provides a visible correspondence between what’s playing now and where it is in the timeline. A common task is to just listen and try to pause at the right time to leave the playhead at a certain spot.
- Looking at the timeline and waveforms can sometimes help, both at very zoomed-out levels, where seeing the patterns of clips and tracks gives the high-level structure of the project, and at a very zoomed-in level, where the waveform shows exactly where a piece of speech or sound begins.
- Reviewing the transcript is helpful at intermediate levels, when looking for a specific bit of speech.
Ducking’s UI makes it easy to navigate in any of these manners by establishing correspondences between each of them. Rotating the timeline editing tools 90º lets the overview, waveform, and transcript view all move in the same alignment and scroll together.
Below is a low-fidelity interactive mockup that shows the core ideas.
With this high-level UI layout:
- The scrollbar shows a simplified and zoomed-out overview view of the entire project, so the scroll tab’s size and position shows us exactly where in the project we are and how far zoomed in we are. In this project, the purple music clips clearly establish the section breaks, allowing us to quickly see we’re looking at the transition from the intro into the first main section.
- The timeline view shows a traditional waveform with editing tools for each track and clip. But it’s rotated ninety degrees so that it scrolls vertically. This allows us to do detailed DAW edit operations to the waveform, while benefiting from the natural alignment of the timeline to the transcript.
- The transcript view is neither an afterthought (like in most DAWs where it just hangs out and has no correspondence to the rest of the editing), nor is it the primary editing surface (like in Descript). It scrolls and zooms together with the timeline so that you can always clearly see the text of the audio being edited. Clicking on words moves the playhead there.
The UI layout establishes a clear correspondence between the overview, the waveforms, the transcript, and any currently-playing audio:
- The playhead appears as a golden line in all three views to orient what we’re currently listening to.
- The current contents of the timeline view are indicated in the overview by its scroll tab and in the transcript view by the matching gray outline section.
- Scroll and zoom actions obviously take effect in all three places at once.
This same correspondence also ratchets up the power of other tools. When searching for text or looking at the history of edits to the project, those annotations can be overlayed onto all three views.
As an example, because the overview always shows the entire project, it’s a great way to see the overall structure and then orient where search results or tracked changes have happened in the document.
Conclusion and what’s next
Taken together, the more powerful audio layout model and the new UI navigation make it much faster for us to produce podcast episodes from raw recordings. The software is definitely tailored just for our needs, but these ideas may be more broadly applicable, which is why I am sharing them here.
Where this post focused on the UI, I plan to publish two future posts on other parts of the project:
- My experience building a multiplayer UI on top of Automerge, especially focusing on ideas around collaboration and change management with non-textual data.
- The texture of working with AI coding assistants outside of a business environment, using the leverage not to intensify work but to enjoy more sketching and hammock time to decide what’s next. Plus the pleasure of building narrowcast software that only has to please two people.
About me
I’m Adam Solove, a product engineer with experience at Stripe and Figma who loves to build great products in complicated domains. I’m just wrapping up a six month sabbatical that focused on my local community and building some deeply personal tech experiments like the one above.
I’m starting to look for projects or my next role. If you’re building something interesting, please get in touch.